Riverside Bases 101: Survival Strategy and Sheet Ropes (Build 42.19)
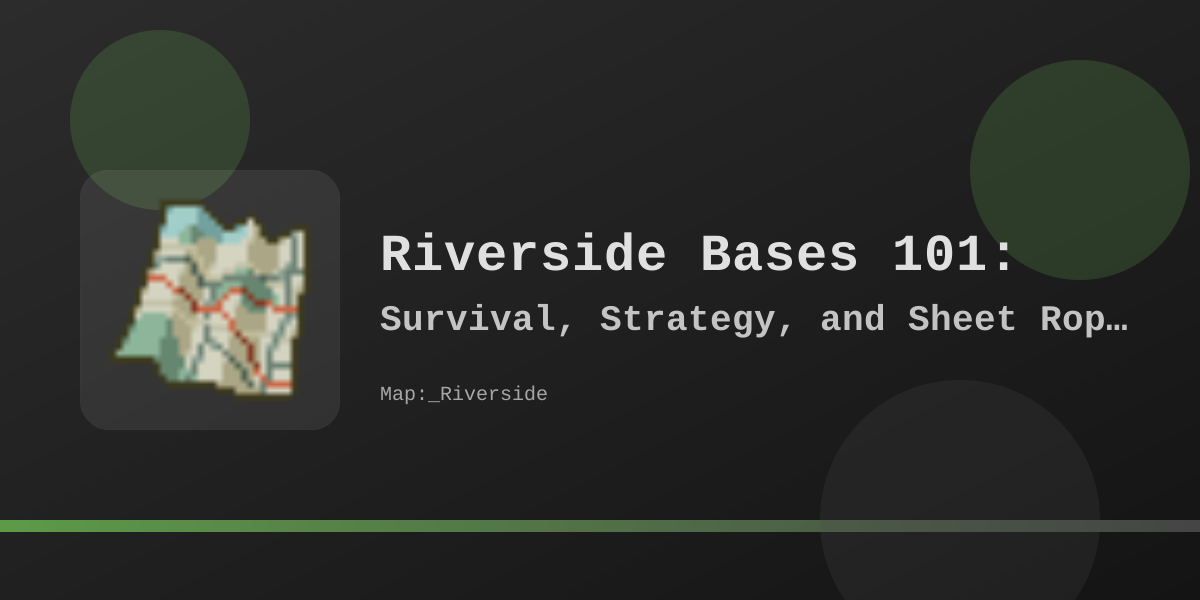
Build 42.19 · Vanilla · Riverside town layout + craft / climb rules
 Sheet Rope
1 Sheet → 1 rope
Sheet Rope
1 Sheet → 1 rope
 Hammer
Nail rope / build
Hammer
Nail rope / build
 Nails
Install + barricade
Nails
Install + barricade
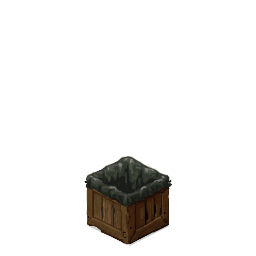 Rain collector
Woodwork 3 / 400 L
Rain collector
Woodwork 3 / 400 L
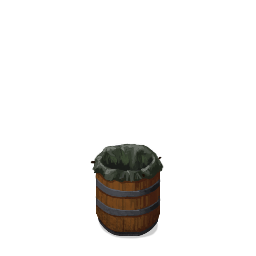 Round barrel
Woodwork 5 / 600 L
Round barrel
Woodwork 5 / 600 L
 Generator
Outdoor only
Generator
Outdoor only
Core principles that still hold
Riverside works well as a first base because the river, shops, and housing sit close together. The useful planning rules do not depend on a single “best building” claim:
- Two or more exits on the ground floor, plus a roof/upper-floor rope plan if the street fills.
- Two escape ropes on different sides so one blocked approach does not trap you.
- Tools before cosmetics: hammer, nails, saw, bag, water containers, then food and books.
- Plan for water and power shutoff using your sandbox Water Shutoff / Electricity Shutoff ranges—not a fixed calendar promise.
- Treat downstairs as a buffer; sleep and store critical gear upstairs once ropes are installed.
Sheet ropes: craft, height, fail chance
Escape ropes are the backbone of multi-story Riverside bases. Current vanilla rules:
| Step | Build 42.19 fact | Do not do this |
|---|---|---|
| Craft | 1 Sheet → 1 Sheet Rope (in-hand, can be done in the dark). No hammer or nails on the craft recipe. | Assuming craft needs hammer/nails, or that random clothing becomes Sheet Rope directly. |
| Height cost | Tooltip: one sheet rope required per level. A second-story drop typically needs about two ropes; higher floors need more. The game also accepts regular Rope as a substitute on install. | Hanging “one rope for the whole building” and expecting a clean climb from floor 3+. |
| Install on windows | Right-click a suitable opening → Nail Escape Rope with a hammer-tag tool and nails (one nail on the nail path). On fences/railings that allow it, use Tie Escape Rope without nails. | Claiming install is free, or that furniture alone replaces ropes. |
| Climb | Stand at the rope and press E. Remove with Remove Escape Rope when you want the attachment gone. | Assuming zombies can never interact with your plan or that climb always succeeds. |
| Fail chance | Sandbox Easy Climbing disables fail chances when climbing sheet ropes or walls. On Apocalypse it defaults off, so fail chance is on unless you enable the option. | Calling sheet ropes “absolutely safe” or “zombies can’t climb, so you never die on ropes.” |
Practical setup for a two-story bar, post office, or house:
- Craft extra ropes before the siege—not during it.
- Hang ropes on two different walls that land on relatively clear ground.
- Keep spare Sheets/Ropes, a hammer, and nails upstairs.
- Climb while not exhausted and not heavily overloaded when fail chance is enabled.
Full attach menus and fence edge cases: How to attach sheet rope to window and fence.
Riverside location trade-offs
There is no single best Riverside base. Match the building to how you play and how much early combat you accept. Names below are common community landmarks—always check layout in your map seed.
| Area / type | Strengths | Costs / risks | Fits |
|---|---|---|---|
| Riverfront multi-story (bar / restaurant style) | Upper floor for living space; kitchen storage; short walk to fishing spots; good rope practice building. | Lots of glass; often needs more plank work; open approaches from street and river path. | Players who can clear and barricade quickly. |
| West / fringe housing near services | Often fewer interior fights on day one; closer runs toward gas, sheds, and junkyard-style loot. | Spread-out perimeter; weaker default walls; may need a car sooner for town runs. | Beginners and small co-op groups. |
| Gated / fenced neighborhood pockets | Existing fences reduce early wall count; room for gardens or parking if gates are controlled. | Wooden fences still break under enough pressure; farther from some shops; more gate chokepoints to watch. | Builders who want a compound. |
| Town-center sturdy shells (e.g. post office style) | Fewer windows; solid shell; books and office loot; sometimes roof or loading-bay access. | Higher foot traffic; harder to farm; helicopter migration hits harder if you stay put. | Short-term skill-up hubs, then relocate or fortify hard. |
| South / club / cabin belt | Quieter after clear; water and outdoor space; late self-sufficiency potential. | Long resupply drives; sparse local tools; open ground is hard to fully wall. | Late-game homestead runs—not a guaranteed “free eggs every day” start. |
Broader Knox Country shortlists (with map pins where available): B42 base locations guide.
First-week priorities
- Spawn and pathing — Prefer a start that lets you reach tools and water containers without forcing a downtown meat grinder on hour one. Downtown is loot-rich, not beginner-safe by default.
- Clear and claim — Pull zombies outside; clear room by room; shut doors; mark the building on the map. Furniture shoved against stairs or doors only buys time—it is not a permanent lock.
- Visibility control — Curtains/sheets reduce sight lines while you gather planks. Barricade ground-floor openings when you have hammer + nails (basic planks do not require high Woodwork).
- Ropes online — Install two upper-floor escapes before you treat the base as “done.” Count ropes per level, not “one rope per window” as a magic formula.
- Loot loop — Hardware / sheds for hammer, nails, saw, axe, screwdriver; grocery/kitchens for early food; books for Carpentry/Electricity; empty bottles and pots for shutoff day.
- Meta events — Helicopter and other meta noise can pull migration toward your position. Leave the base area rather than “AFK upstairs and hope.” Timing is sandbox-dependent, not always “day 6–9.”
Tools first
Hammer, nails, saw, and a bag unlock barricades, disassembly for planks, and rope installs. Without them, furniture tricks expire fast.
Water containers
Fill bottles, pots, and jugs while taps still work. River access is a location perk—not free clean drinking water from the bank.
Generator magazine
You need the skill magazine before a generator is useful. See generator spawn guide.
Clinic later
Cortman-style medical loot is worth a planned run after you can fight or kite. Do not treat it as day-one mandatory.
Water, rain collectors, power
Rain collectors (current Woodwork costs)
Older community guides often list Carpentry 4 / 7 style thresholds. Build 42.19 outdoor collectors use the Woodwork skill with these recipes:
| Collector | Skill | Capacity | Rain fill | Materials (keep hammer) |
|---|---|---|---|---|
| Square crate | Woodwork 3 | 400 L | Faster (0.4) | 4 Plank, 4 Nails, 4 garbage bags (or bag-tag items) |
| Square tarp variant | Woodwork 3 | 400 L | — | 4 Plank, 4 Nails, 1 Tarp |
| Round barrel | Woodwork 5 | 600 L | Slower (0.25) | 6 Plank, 5 Nails, 4 garbage bags (or bag-tag items) |
| Round tarp variant | Woodwork 5 | 600 L | — | 6 Plank, 5 Nails, 1 Tarp |
- Place collectors outdoors where rain can hit them.
- Round barrels support open/close lid actions—useful when you want to manage collection vs debris risk.
- Collected rain is not automatically “safe bottled water forever”; treat purification and plumbing as separate systems. Full recipe walkthrough: rain collector guide.
Taps, river, dispensers
- Plumbing shutoff is controlled by sandbox water settings after the world start date—not a hard-coded “day 30” for every run.
- River / lake water is a renewable fill source after boiling or other safe handling—not an infinite clean sink you should sip untreated.
- Water dispensers in offices hold about 15 L—not hundreds of units. Useful, not a full base cistern.
Generators
| Item | Weight | Noise radius | Notes |
|---|---|---|---|
| Generator (default) | 40 | 20 | Standard heavy unit; both hands when carried. |
| Yellow generator | 40 | 20 | Slightly different condition wear rate. |
| Blue generator | 30 | 23 | Lighter, louder radius. |
| Old generator | 40 | 25 | Noisiest of the listed vanilla set. |
- Run generators outdoors. Indoor exhaust is a classic base-killer.
- Fuel burn uses the sandbox Generator Fuel Consumption setting (Apocalypse default 0.1 per in-game hour before load scaling)—not a universal “lasts one day” or “two days at half load” slogan.
- Noise radius means night generators can pull attention; place them with walls, distance, and your risk tolerance in mind. Lights alone are not a substitute for reading actual attraction rules.
What is not safe (common myths)
- “Sheet ropes = absolute safety.” Climb fail chance exists unless Easy Climbing is on. Overloaded / exhausted climbs are worse bets.
- “Furniture-blocked stairs are permanent.” Tables and shelves slow zombies; they are not indestructible vault doors.
- “Destroy stairs and you never need a plan B.” Sledgehammer stair removal is strong when you have the tool, but you still need dual ropes and ground clear of landing swarms.
- “Rain barrel at Carpentry 4/7.” Current collectors are Woodwork 3 / 5 with the materials above.
- “Country club always has chickens / free eggs.” Animal presence is not guaranteed at a fixed POI for every seed.
- “B42 multiplayer is offline / future only.” Multiplayer exists on current Build 42 branches; treat co-op rules (safehouses, PVP, mods) as server-specific.
- “B42 only added three towns.” The expanded map includes more than a three-name list; Riverside still sits in the classic river corridor with new rural adjacency depending on version map data.
- “Water cooler = 250 units.” Current dispenser capacity is about 15 L.
B41 vs B42.19 notes (base-relevant)
| Topic | What to keep in mind on 42.19 |
|---|---|
| Map / towns | Riverside core remains a strong early hub; the wider map has additional settlements and rural sites beyond “three new towns only.” Scout rather than memorize old lists. |
| Building skill naming | Recipes reference Woodwork for many carpentry-style builds (including rain collectors). |
| Animals / farming | Livestock and deeper farming exist, but they are not free auto-loot at a fixed Riverside cabin. |
| Basements / multi-level | Some houses include basements or deeper layouts. Treat basements as storage/panic space with their own lighting and exit plan—not free invulnerability. |
| Climbing | Easy Climbing in sandbox options turns fail chance on or off for ropes and walls. |
| Multiplayer | Co-op and dedicated servers run on B42; claim rules, PVP, and loot respawn are server settings—not “not available yet.” |
Action checklist
- Claim a multi-exit building; clear interior; map-mark it.
- Secure hammer, nails, saw, bag, sheets for ropes.
- Install two upper-floor sheet ropes with correct per-level count.
- Barricade ground openings; keep a door or rope path you control.
- Fill water containers; stash non-perishables upstairs.
- Raise Woodwork toward 3 for the 400 L collector, then 5 for 600 L.
- Find generator + magazine; place unit outdoors; stock fuel cans.
- Prepare a helicopter leave-the-area route (car or long kite path).
- Expand fences only after you can defend the chokepoints you create.
- Optional: metal sheets, farming, fishing—after tools and water are stable.
Related guides
Numbers at a glance: Build 42.19 · Sheet Rope = 1 Sheet · one rope per floor level · Easy Climbing off by default on Apocalypse · rain collectors Woodwork 3 (400 L) / 5 (600 L) · office water dispensers ≈15 L · generator noise radius 20–25. Map density and animal spawns depend on your seed.
Related Articles