Project Zomboid B42 Roof: Build Floor Above, Stay Connected
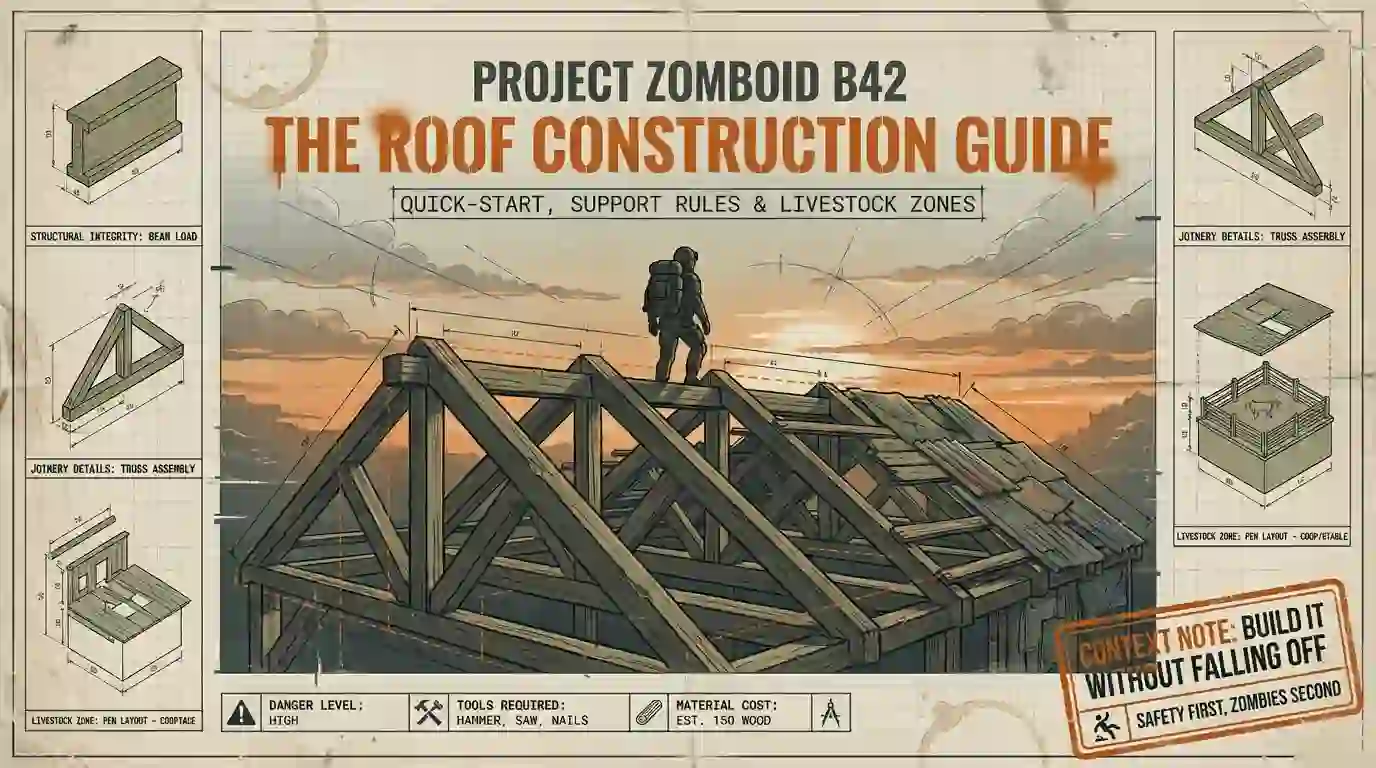
Build 42.19 · Floor-as-roof · Carpentry / Welding · Vanilla
 Plank
1 per wooden floor tile
Plank
1 per wooden floor tile
 Nails
1 per wooden floor tile
Nails
1 per wooden floor tile
 Hammer-class tool
Kept · light wear
Hammer-class tool
Kept · light wear
 Propane Torch
Metal Floor option
Propane Torch
Metal Floor option
 Steel Sheet – Small
1 per metal floor tile
Steel Sheet – Small
1 per metal floor tile
 Welding Rods
Consumed with torch
Welding Rods
Consumed with torch
Quick-start checklist
- Pick the footprint you want covered (a 3×3 test roof is enough to learn the loop).
- Build safe access to the upper level. Stairs are the reliable path; window hops and furniture climbs are optional and easy to fall from.
- At the top of the stairs (or on any existing upper floor tile), open the build menu and place the first Wooden Floor or Metal Floor tile.
- Expand adjacent to placed tiles so each new square stays connected with floor. Connection—not support columns—is what lets the next tile place.
- Add rails or low fences on the edge before you walk around with full pockets. Edge protection is player safety, not a placement requirement.
- For livestock: place floor over every square of the pen, unpause briefly, then read the zone’s Roofed Area count.
What a “roof” is in Build 42.19
If you are hunting a menu entry named Roof, use the floor recipes instead. Wooden cover is the Carpentry Wooden Floor family (three quality tiers, same materials). Metal cover is Welding’s Metal Floor; the craft tooltip reads “A basic floor made from metal,” and some menus still label it Metal Roof. Functionally it is still an overhead floor that counts as roof for livestock zones and similar systems.
Placing that overhead floor is enough. You do not need a second “roof object” on top of the floor tile.
Placement rules that matter
A floor square is refused when any of these is true:
- Stairs below that square.
- Farming vegetation already on the square.
- The same floor type is already placed there.
- The square is not connected to existing floor—expand from tiles you already placed; do not try to float floors far from the floor network.
You do not need a pillar, wall, or solid object on the level below before the floor can place. Walls and pillars under a multi-story build are still useful for rooms, zombies, and aesthetics—they are not the gate that unlocks the next roof tile.
Other blockers players often confuse with “support”:
- Standing too far away or trying to place a tile you cannot reach from a solid standing square.
- Missing skill, tools, or materials (or, for Metal Floor, not having learned the recipe).
- Trying to start a floating island of tiles with no seed from stairs top or an existing upper floor square.
Floor recipes (Build 42.19)
Wooden floors share materials across tiers. The build menu shows one wooden floor quality band based on your current Woodwork level, not all three at once.
| Build entry | Category | Skill / unlock | Tools & materials (per tile) | Menu when |
|---|---|---|---|---|
| Wooden Floor (Lvl 1) | Carpentry | Woodwork 1 | Hammer-class (keep) · 1 Plank · 1 Nail | Woodwork < 2 |
| Wooden Floor (Lvl 2) | Carpentry | Woodwork 2 | Same: hammer · 1 Plank · 1 Nail | Woodwork 2–3 |
| Wooden Floor (Lvl 3) | Carpentry | Woodwork 4 | Same: hammer · 1 Plank · 1 Nail | Woodwork ≥ 4 |
| Metal Floor | Welding | Must be learned (no MetalWelding skill level on the floor itself). Read Magazine: Welder Monthly – June 1993 | Propane Torch · 1 Steel Sheet – Small · Welding Rods | After the magazine is read |
| Brick Floor | Masonry | No Woodwork skill requirement | Mason’s trowel (keep) · concrete tag · 4 Clay Tile | When you can craft it |
| Dirt Floor | Outdoors | — | 1 Dirtbag | Ground-level farming use case; tooltip notes farming on ground floor |
Safe access to the upper level
You need a way onto the roof level before the first tile is easy to place. Vanilla stair options in Build 42.19:
| Stairs | Skill | Materials (summary) |
|---|---|---|
| Log Stairs | Woodwork 3 | Hammer · 12 Logs · axe/saw-class (not dull) · 12 of Ripped Sheets / Dirty Ripped Sheets / Twine / Rope / Sheet Rope |
| Wooden Stairs | Woodwork 6 | Hammer · 13 Planks · 8 Nails |
| Metal Stairs | MetalWelding 5 + learned recipe | Propane Torch · 4 Metal Bars · 6 Steel Sheet – Small · Welding Rods |
Sheet ropes and window entries work for temporary access; treat them as high fall risk when carrying planks and nails.
Step-by-step: roof a one-story shed
- Ground floor and walls first. You can roof over dirt or finished floor; walls define the room, but they are not required under every overhead tile for placement to succeed.
- Stairs (or other access) to level 2. Prefer Log Stairs at Woodwork 3 if plank stairs are still locked.
- Seed tile. Stand on the stair top or an existing upper floor square and place the first Wooden Floor / Metal Floor.
- Expand outward one adjacent tile at a time. Walk onto safe tiles as you go so each new square stays connected to the floor you already built.
- Edges. Before you sprint with a full inventory, place low wooden fences or rails along drop edges (e.g. Wooden Fence at Woodwork 3: hammer, 2 Planks, 2 Nails). That prevents fall damage; it does not “enable” placement.
- Check cover. Rain shelter, indoor feel, and livestock roofed counts all depend on actual floor tiles on the squares above—not on how many pillars sit underneath.
Livestock shelter: roofed area
Livestock zones show a Roofed Area line in the designation UI, counted from connected roof squares on the zone. Animals prefer roofed parts of the zone in rain. After you finish placing floors:
- Make sure every intended pen square has an overhead floor tile on the correct Z level—not a visual overhang that never occupies that grid.
- Unpause for a moment so zone counts refresh.
- Open Check Zone / the livestock zone panel and read the roofed count.
- If the count is low, hunt 1-tile corner gaps, doorway squares you skipped, and transitions where the wall line and the floor grid do not match.
If Roofed Area stays at zero on Build 42.19, check missing floor tiles and zone size first before assuming the counter is broken.
Troubleshooting
| Symptom | Likely cause (42.19) | Fix |
|---|---|---|
| No “Roof” item in the build menu | Looking for the wrong name | Build Wooden Floor (Carpentry) or Metal Floor (Welding) on the level above |
| Next tile will not place | Not connected with floor, out of reach, stairs below, farming object, or duplicate floor | Seed from existing floor; clear blockers; stand closer; do not assume missing pillars |
| Wooden Floor missing from menu | Woodwork too low for any tier, or wrong category filter | Need Woodwork ≥ 1; check Carpentry category |
| Metal Floor missing | Recipe not learned | Read Welder Monthly – June 1993 |
| Roofed Area count does not rise | Gaps in overhead floor, wrong Z, or zone drawn larger than the roof | Patch every pen square; redraw zone to match; unpause and recheck |
| Fell off the edge | No edge rails / overconfidence with full bags | Fence the perimeter before wide work; stage materials upstairs |
Staging and multiplayer notes
- Stage planks and nails upstairs so you are not climbing stairs every few tiles.
- Build a 3×3 prototype before committing a whole base roof—validates skill, materials, and edge habits cheaply.
- In multiplayer, split roles (hauler / placer / edge rails) when working near drops. Treat edges as high risk regardless of who is building.
Quick material budget
For a flat wooden roof of N tiles at any wooden quality: N Planks and N Nails, plus one hammer-class tool kept in inventory. Example: a 5×5 (25 tiles) roof needs 25 planks and 25 nails for the floor only—stairs, walls, and edge fences are extra.
Related Articles