How to Build a Wooden Wall in Project Zomboid (Build 42.19)
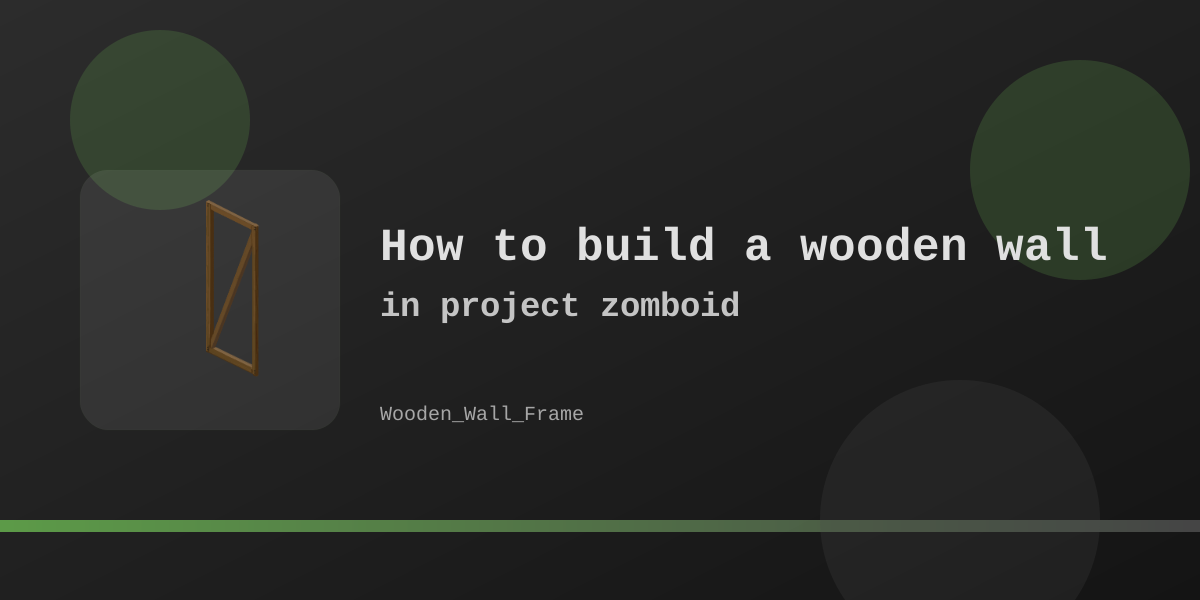
Build 42.19 · Carpentry · Frame first, then wall quality · Vanilla
 Plank
Frame 2 · Wall 2
Plank
Frame 2 · Wall 2
 Nails
Frame 2 · Wall 4
Nails
Frame 2 · Wall 4
 Hammer-class tool
Kept · light wear
Hammer-class tool
Kept · light wear
 Sledgehammer
Destroy built walls
Sledgehammer
Destroy built walls
What you need
- Skill: Carpentry (Woodwork). Wall frame and level-1 wall need Carpentry 2.
- Tool: Any inventory item that counts as a hammer (Claw Hammer, Ball-peen Hammer, Stone Hammer, Smithing Hammer, and forged variants). You do not need one specific item only.
- Materials: Planks and Nails as listed below. The hammer stays in your inventory but can wear slightly while building.
Step-by-step: frame, then wall
- Open the Build / Carpentry construction menu. Recipes sit in the Carpentry category.
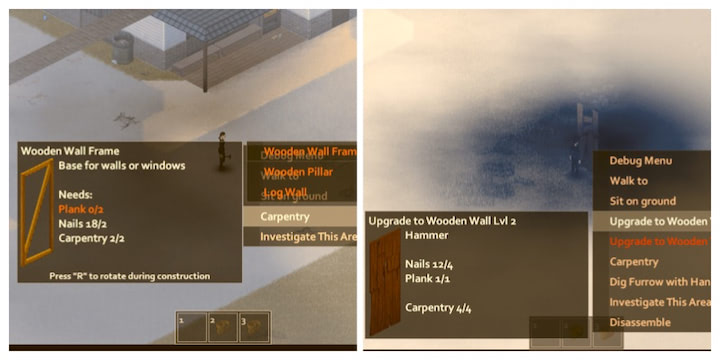
- Select Wooden Wall Frame and place it on a valid floor tile. Requirements: Carpentry 2, 2 Planks, 2 Nails, and a hammer-class tool.
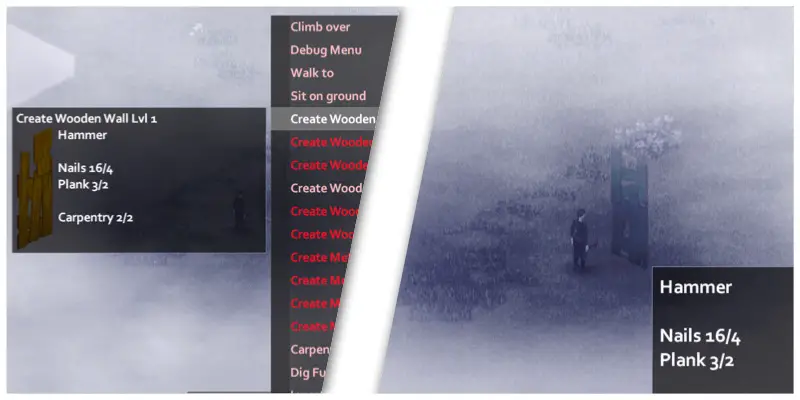
- With the same hammer-class tool and materials for a wall, build the wall quality your Carpentry level allows on that frame (or on a metal wall frame). The wall must sit on a wall frame—the build tooltip requires a frame underneath.
- The menu does not show all three wall qualities at once. It offers the quality band matching your current Carpentry level (see table). Building a higher quality on a lower wall or frame replaces the previous stage and consumes a full wall recipe cost again (always 2 Planks + 4 Nails, not “+1 plank only”).
Build costs and skill thresholds (Build 42.19)
| Structure | Carpentry | Planks | Nails | Base durability | Menu when |
|---|---|---|---|---|---|
| Wooden Wall Frame | 2 | 2 | 2 | 50 (base) | Always (if skill met) |
| Wooden Wall Level 1 | 2 | 2 | 4 | 450 (base) | Carpentry < 4 |
| Wooden Wall Level 2 | 4 | 2 | 4 | 550 (base) | Carpentry 4–5 |
| Wooden Wall Level 3 | 6 | 2 | 4 | 650 (base) | Carpentry ≥ 6 |
How quality upgrades actually work
- Each wall recipe is a full build on a valid previous stage (wooden or metal frame; higher walls can also replace lower wooden walls).
- Cost per wall quality is always 2 Planks + 4 Nails in Build 42.19. Upgrading from level 1 to 2 still spends a full wall recipe—not a one-plank “upgrade tax.”
- You do not pay a tiny “upgrade tax” of one plank: if you rebuild from level 1 to level 2 after leveling Carpentry, you spend another full wall recipe.
- Level 3 wooden walls can be plastered afterward. Plaster is optional finishing, not required for the wall to work as a barrier.
What walls do for defense
Wooden walls block line of sight and force zombies to thump and break them before walking through. They buy time to fight or leave—they are not permanent or unbreakable. Zombies that have seen or heard you will still work on barriers. Pair walls with boarded windows, solid doors, and clear sightlines outside the base.
Gathering planks quickly
For large builds: take a vehicle with trunk space, a saw, and an axe (wood axe or fire axe). Cut trees, saw logs into planks, and haul materials back in bulk. Nails come from crates, tool stores, warehouses, and disassembled furniture—stock more nails than planks; every finished wall tile after the frame uses four nails.
Destroying a wall
Use a Sledgehammer (or another sledgehammer-class tool) with the destroy action on the wall. Destroying a wall can also remove attached fortifications such as boarded windows or other objects on that wall tile—clear valuables and plan a new opening before you swing.
Checklist
- Carpentry at least 2 for frame and first wall quality
- A hammer-class tool equipped or in inventory
- Per tile: frame 2 Planks + 2 Nails, then wall 2 Planks + 4 Nails
- Build frame on floor → build wall on frame
- For stronger walls, raise Carpentry to 4 then 6
- Expect base durability 450 / 550 / 650 plus skill and sandbox modifiers
- Sledgehammer removes walls and can take attached window/door work with them
Related Articles