Set up and hosting a project zomboid server almost free

Crate a digital ocean account with the link below
Get started on DigitalOcean with a $200, 60-day credit for new users. <<------ Click Here
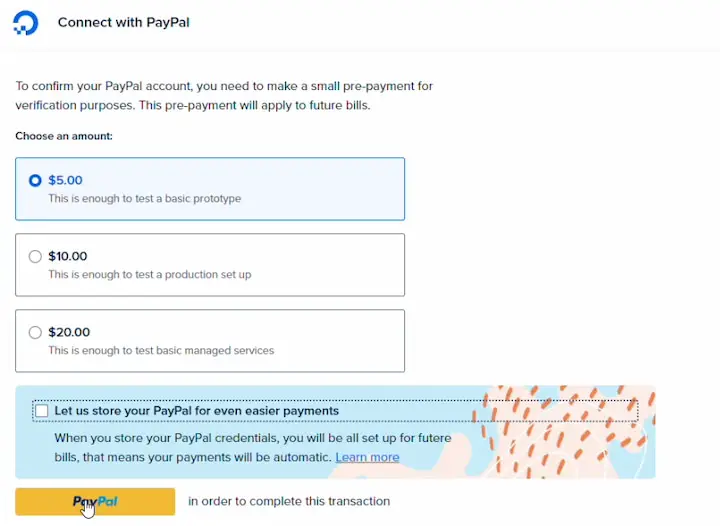
(To active your account. you need to make a small pre-payment ($5) for verification purposes. This pre-payment will apply to future bills)
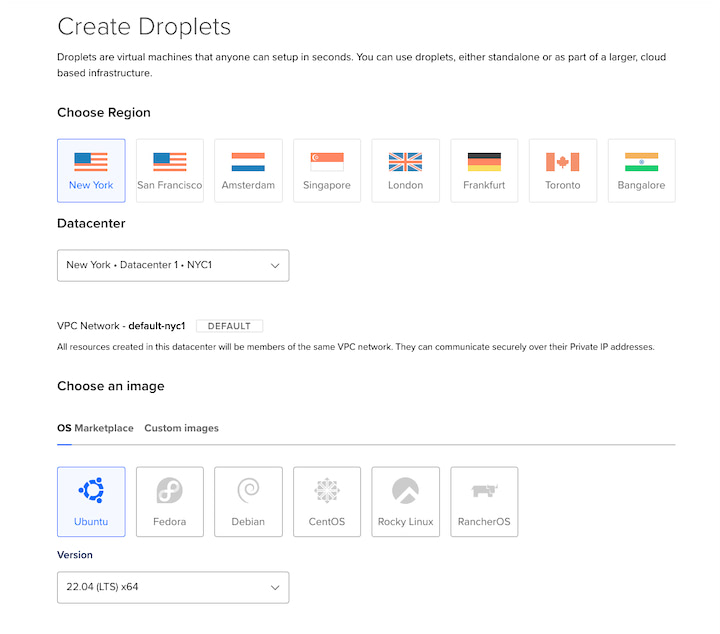
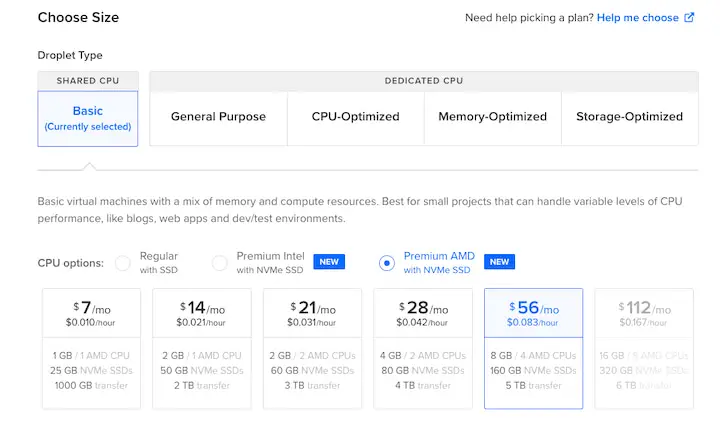
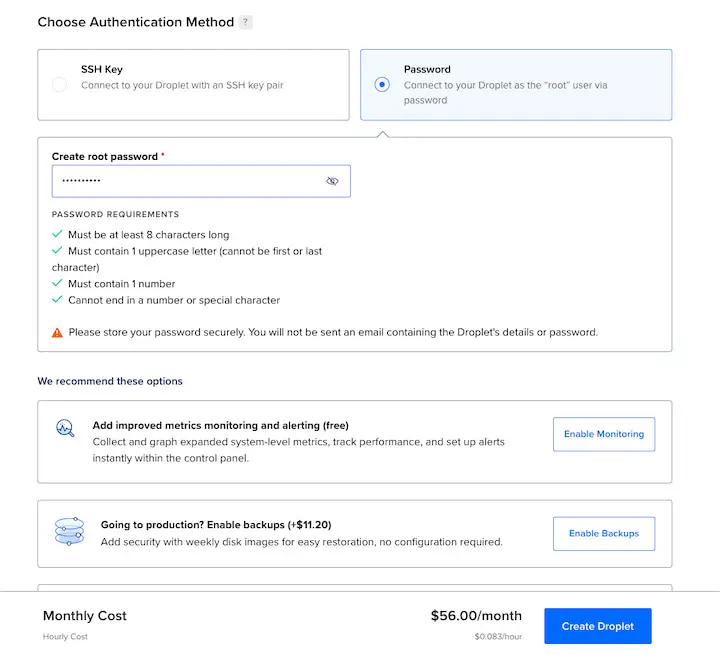
Create A Droplet
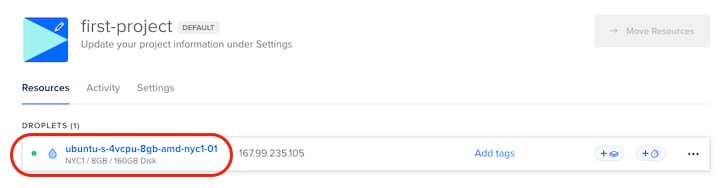
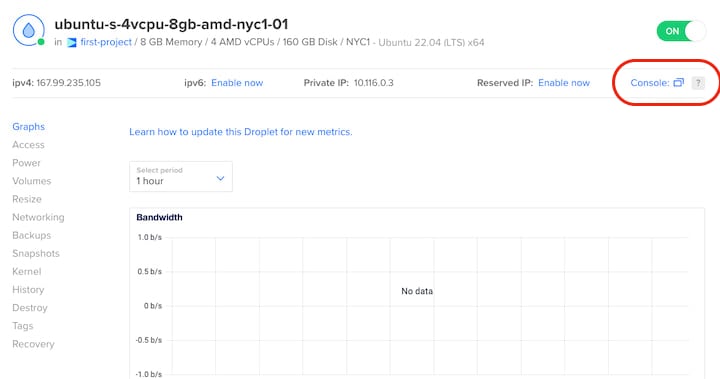
Click the Droplet panel then click Console
Install panel and create a panel account

sudo wget https://s1.pzfans.com/static/other/docker/pterodactyl/panel/panel.sh;sudo sh panel.shCopy the code, paste it to the console and hit enter, Then wait for the installation.
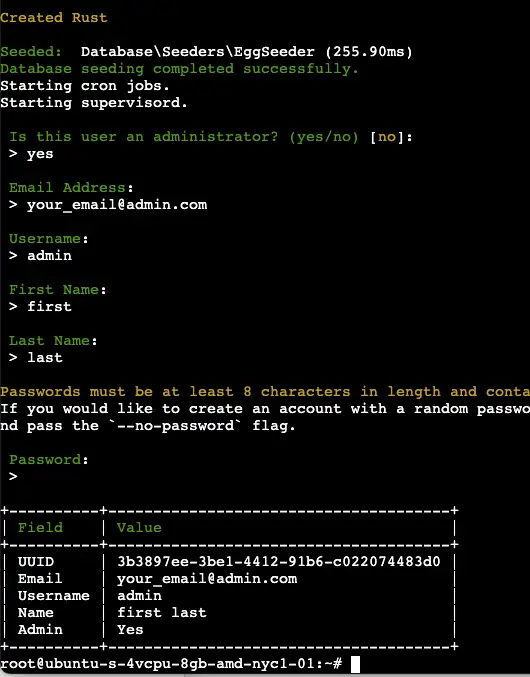
Create a Panel account
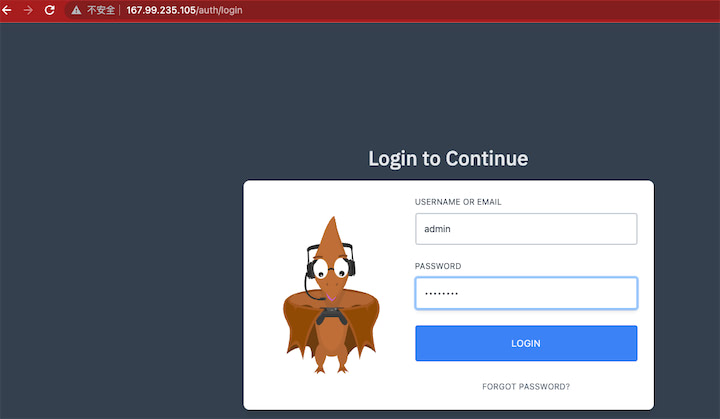
Open The Panel Web url
http://your server ip address such as http://167.99.235.105 (You can find your server ip on the Droplet panel)

Login in with your account
Add Location and Node
Click "Admin"
Click Locations --> Create New --> Create

Click Nodes --> Create New --> Create Node
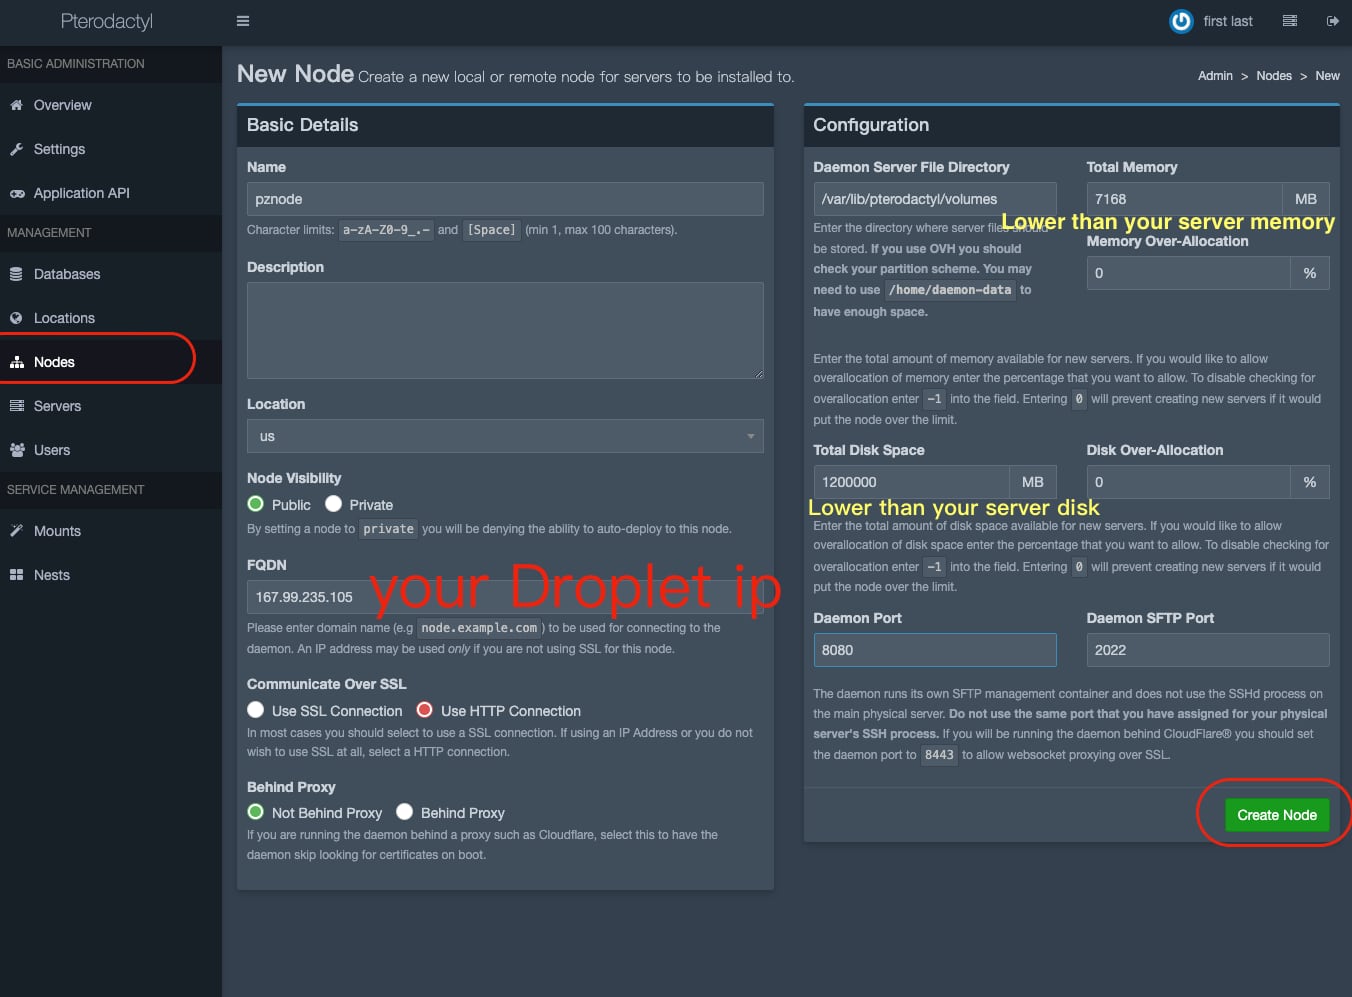
*: Total Memory and Total DIsk Space should lower than your sever's total number.
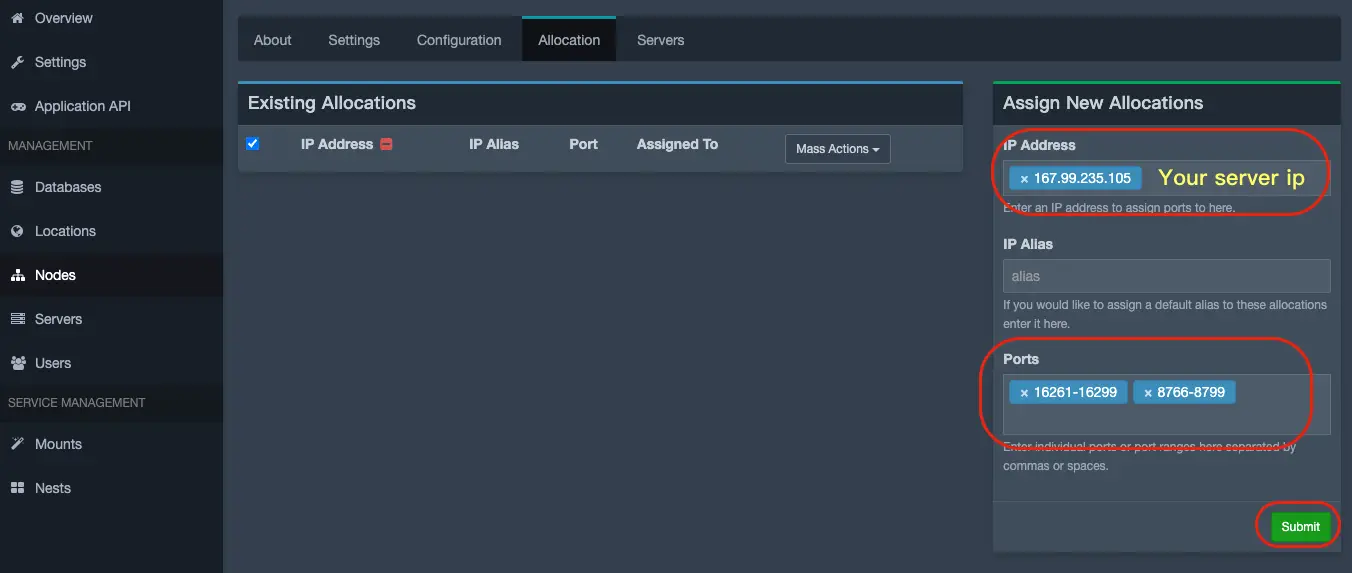
Add ports
Config and run node server
Switch back to the Console
sudo mkdir /etc/pterodactyl/
sudo nano /etc/pterodactyl/config.yml 
Run the code (hit enter)
Copy config from panel web
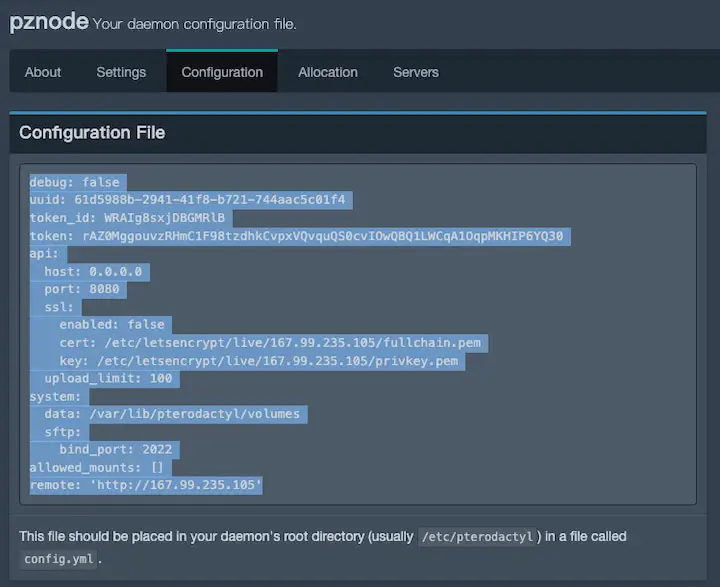
Paste it to the Console
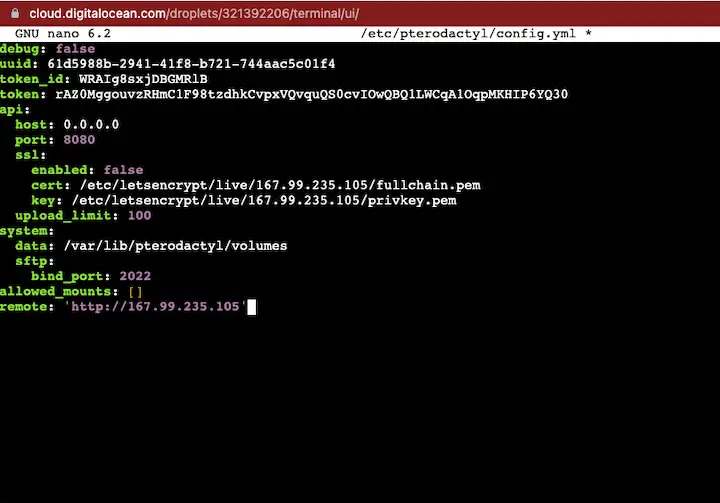
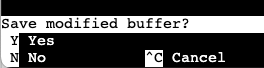
Press Ctrl + x --> Y --> Enter, to save the config file

Install wings
sudo mkdir wings;cd wings
sudo wget https://s1.pzfans.com/static/other/docker/pterodactyl/panel/wings/docker-compose.yaml
sudo docker-compose up -d
Run the command

Check if the node is connected

Add nest and egg
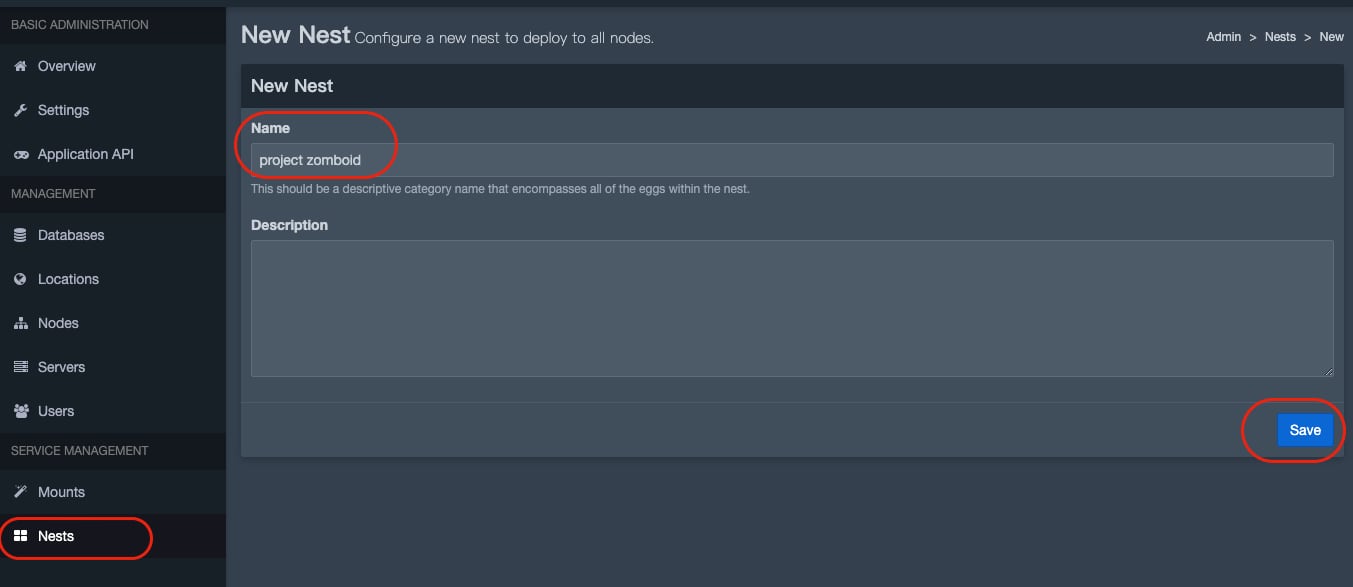
Click Nests --> Create New -->Save
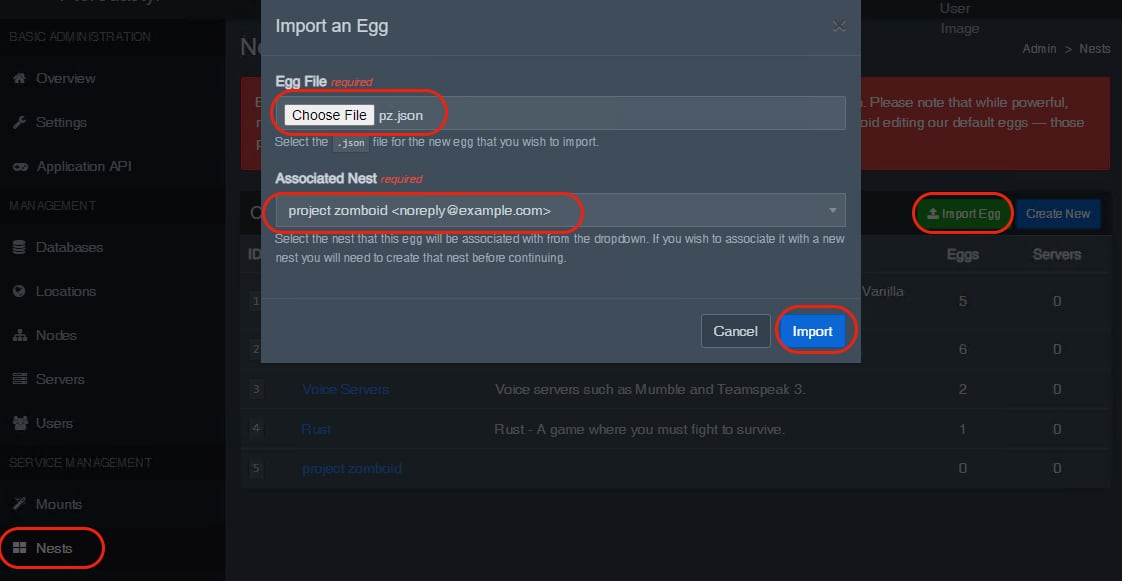
Click Nests --> Import Egg
You can download Egg File here or on github
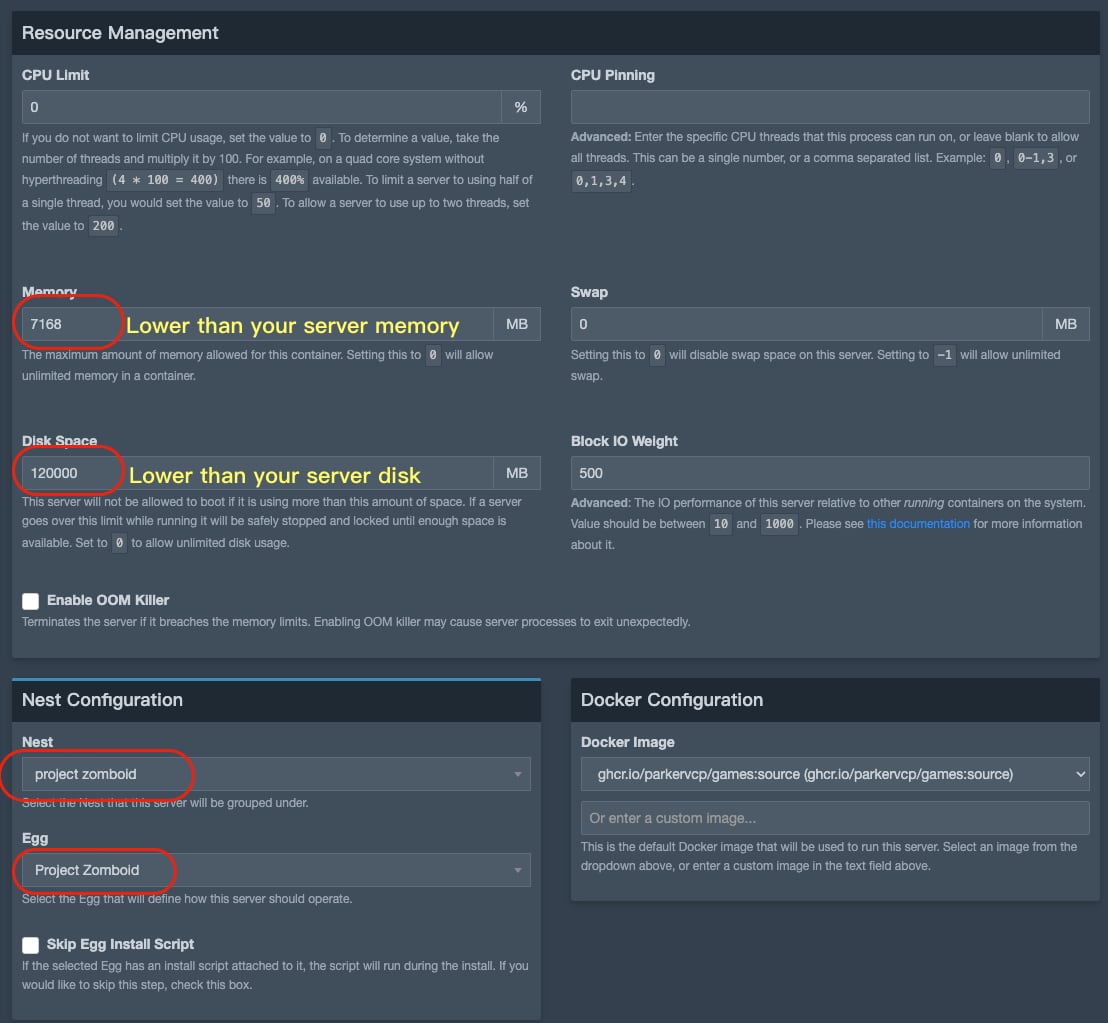
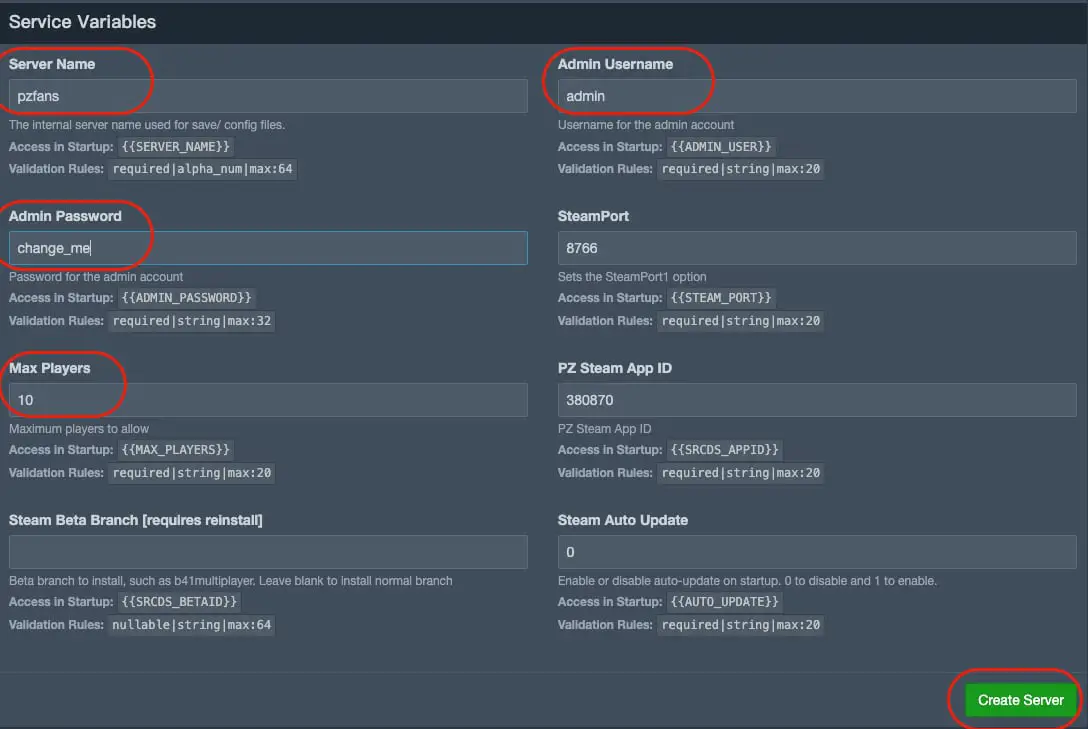
Add server
Click Servers --> Create New --> Create Server
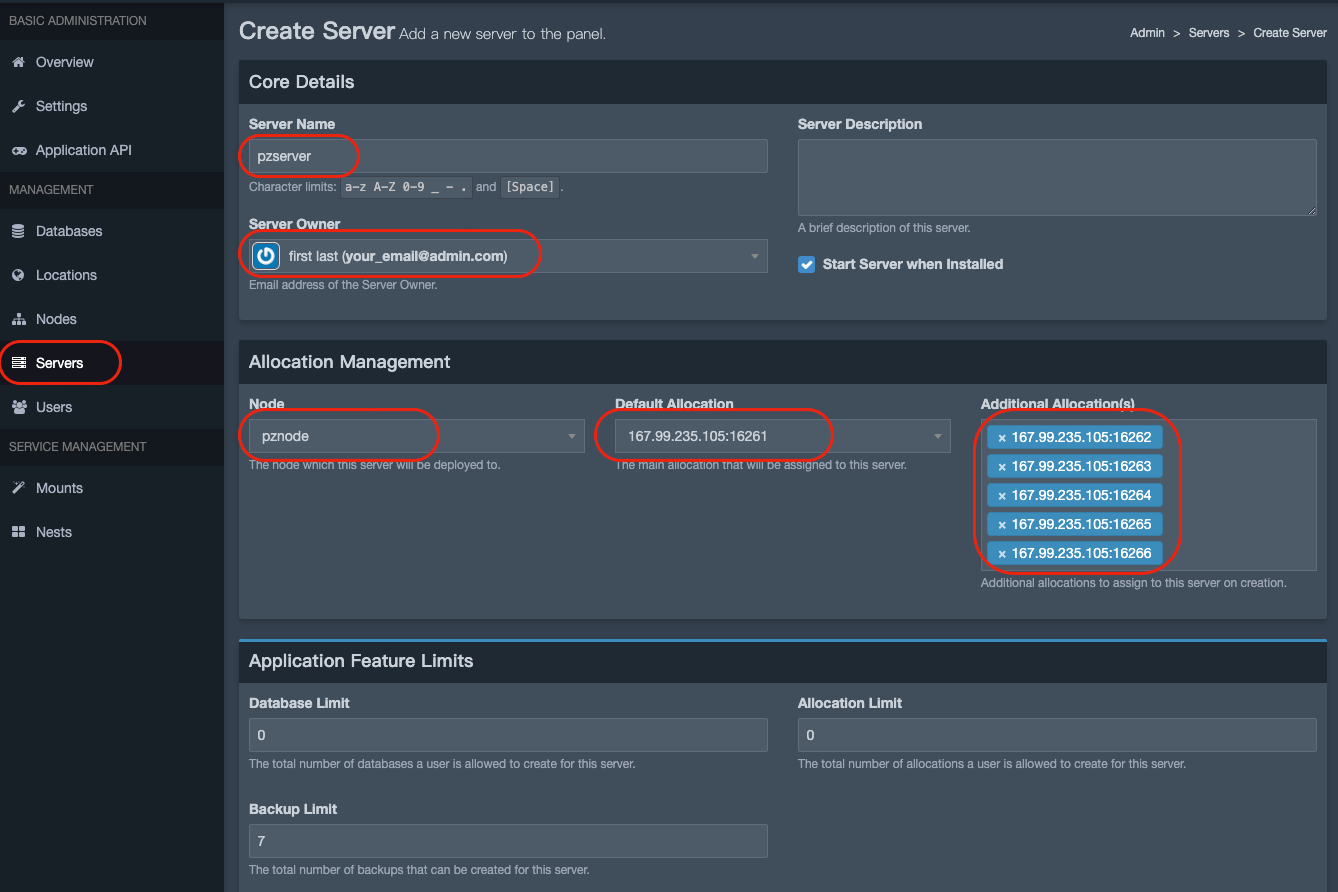
Per user Per Port
Wait for server installation process end
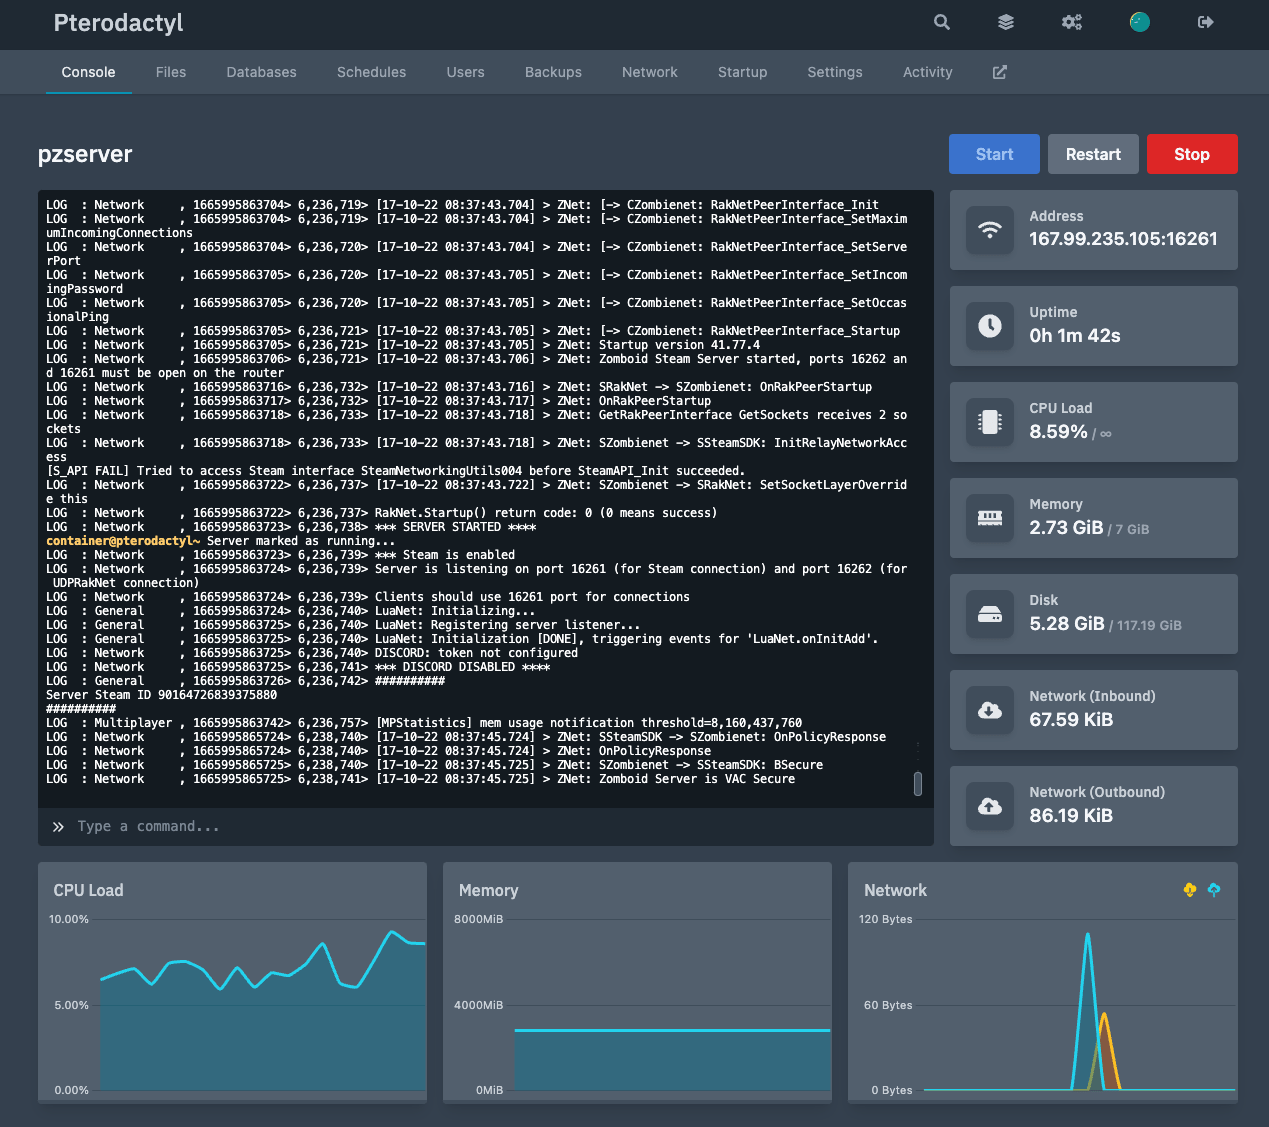
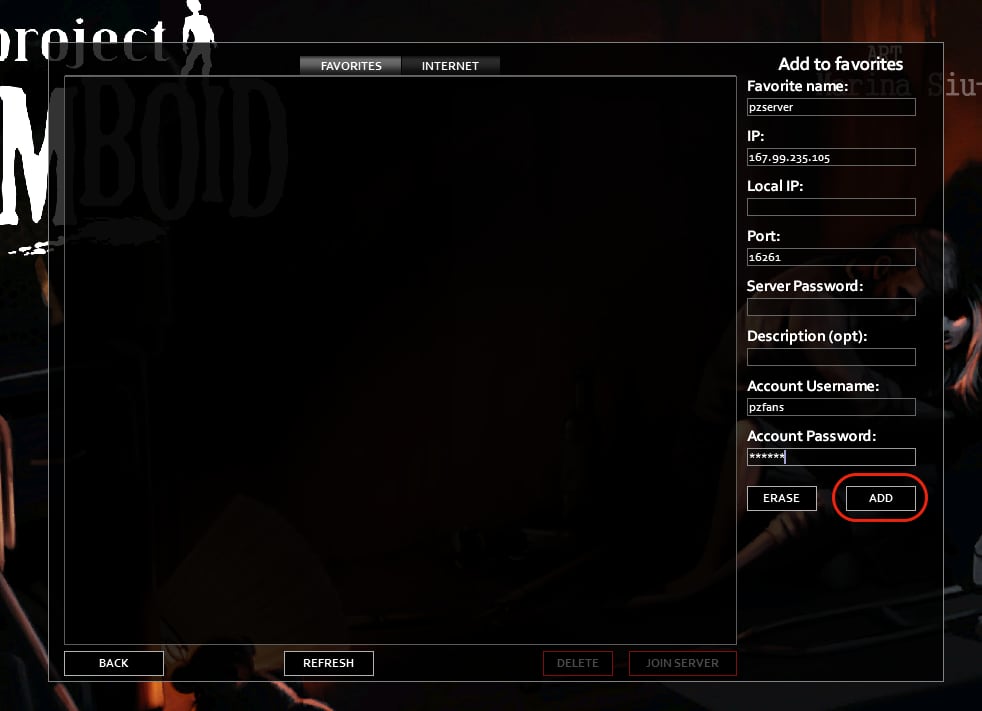
Connect to your own server
Additional Server Management Resources
Now that your server is up and running, you might want to explore these helpful guides for better server management:
- Project Zomboid Server Settings Guide - Configure your server for the best gameplay experience
- 5 Tips for Project Zomboid Server Administrators - Essential tips for managing your server
- Server Memory Requirements - Optimize your server's performance based on player count
- How to Add Mods to Your Server - Enhance your server with popular mods
- How to Soft Reset Your Server - Manage server resets without losing progress