mini-map not showing? how to enable and use the mini-map in project zomboid

If the mini-map is not appearing in your game of Project Zomboid, there are a few steps you can take to try and fix the problem. For new players, we recommend checking our beginner sandbox settings guide to understand all the game options available.
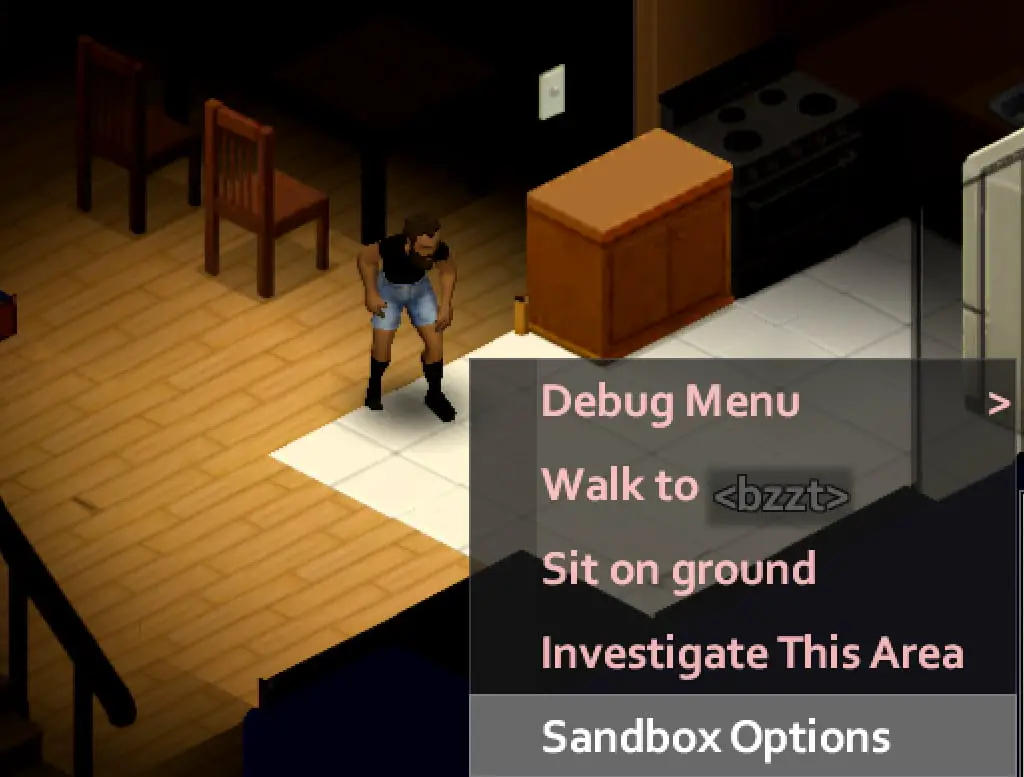
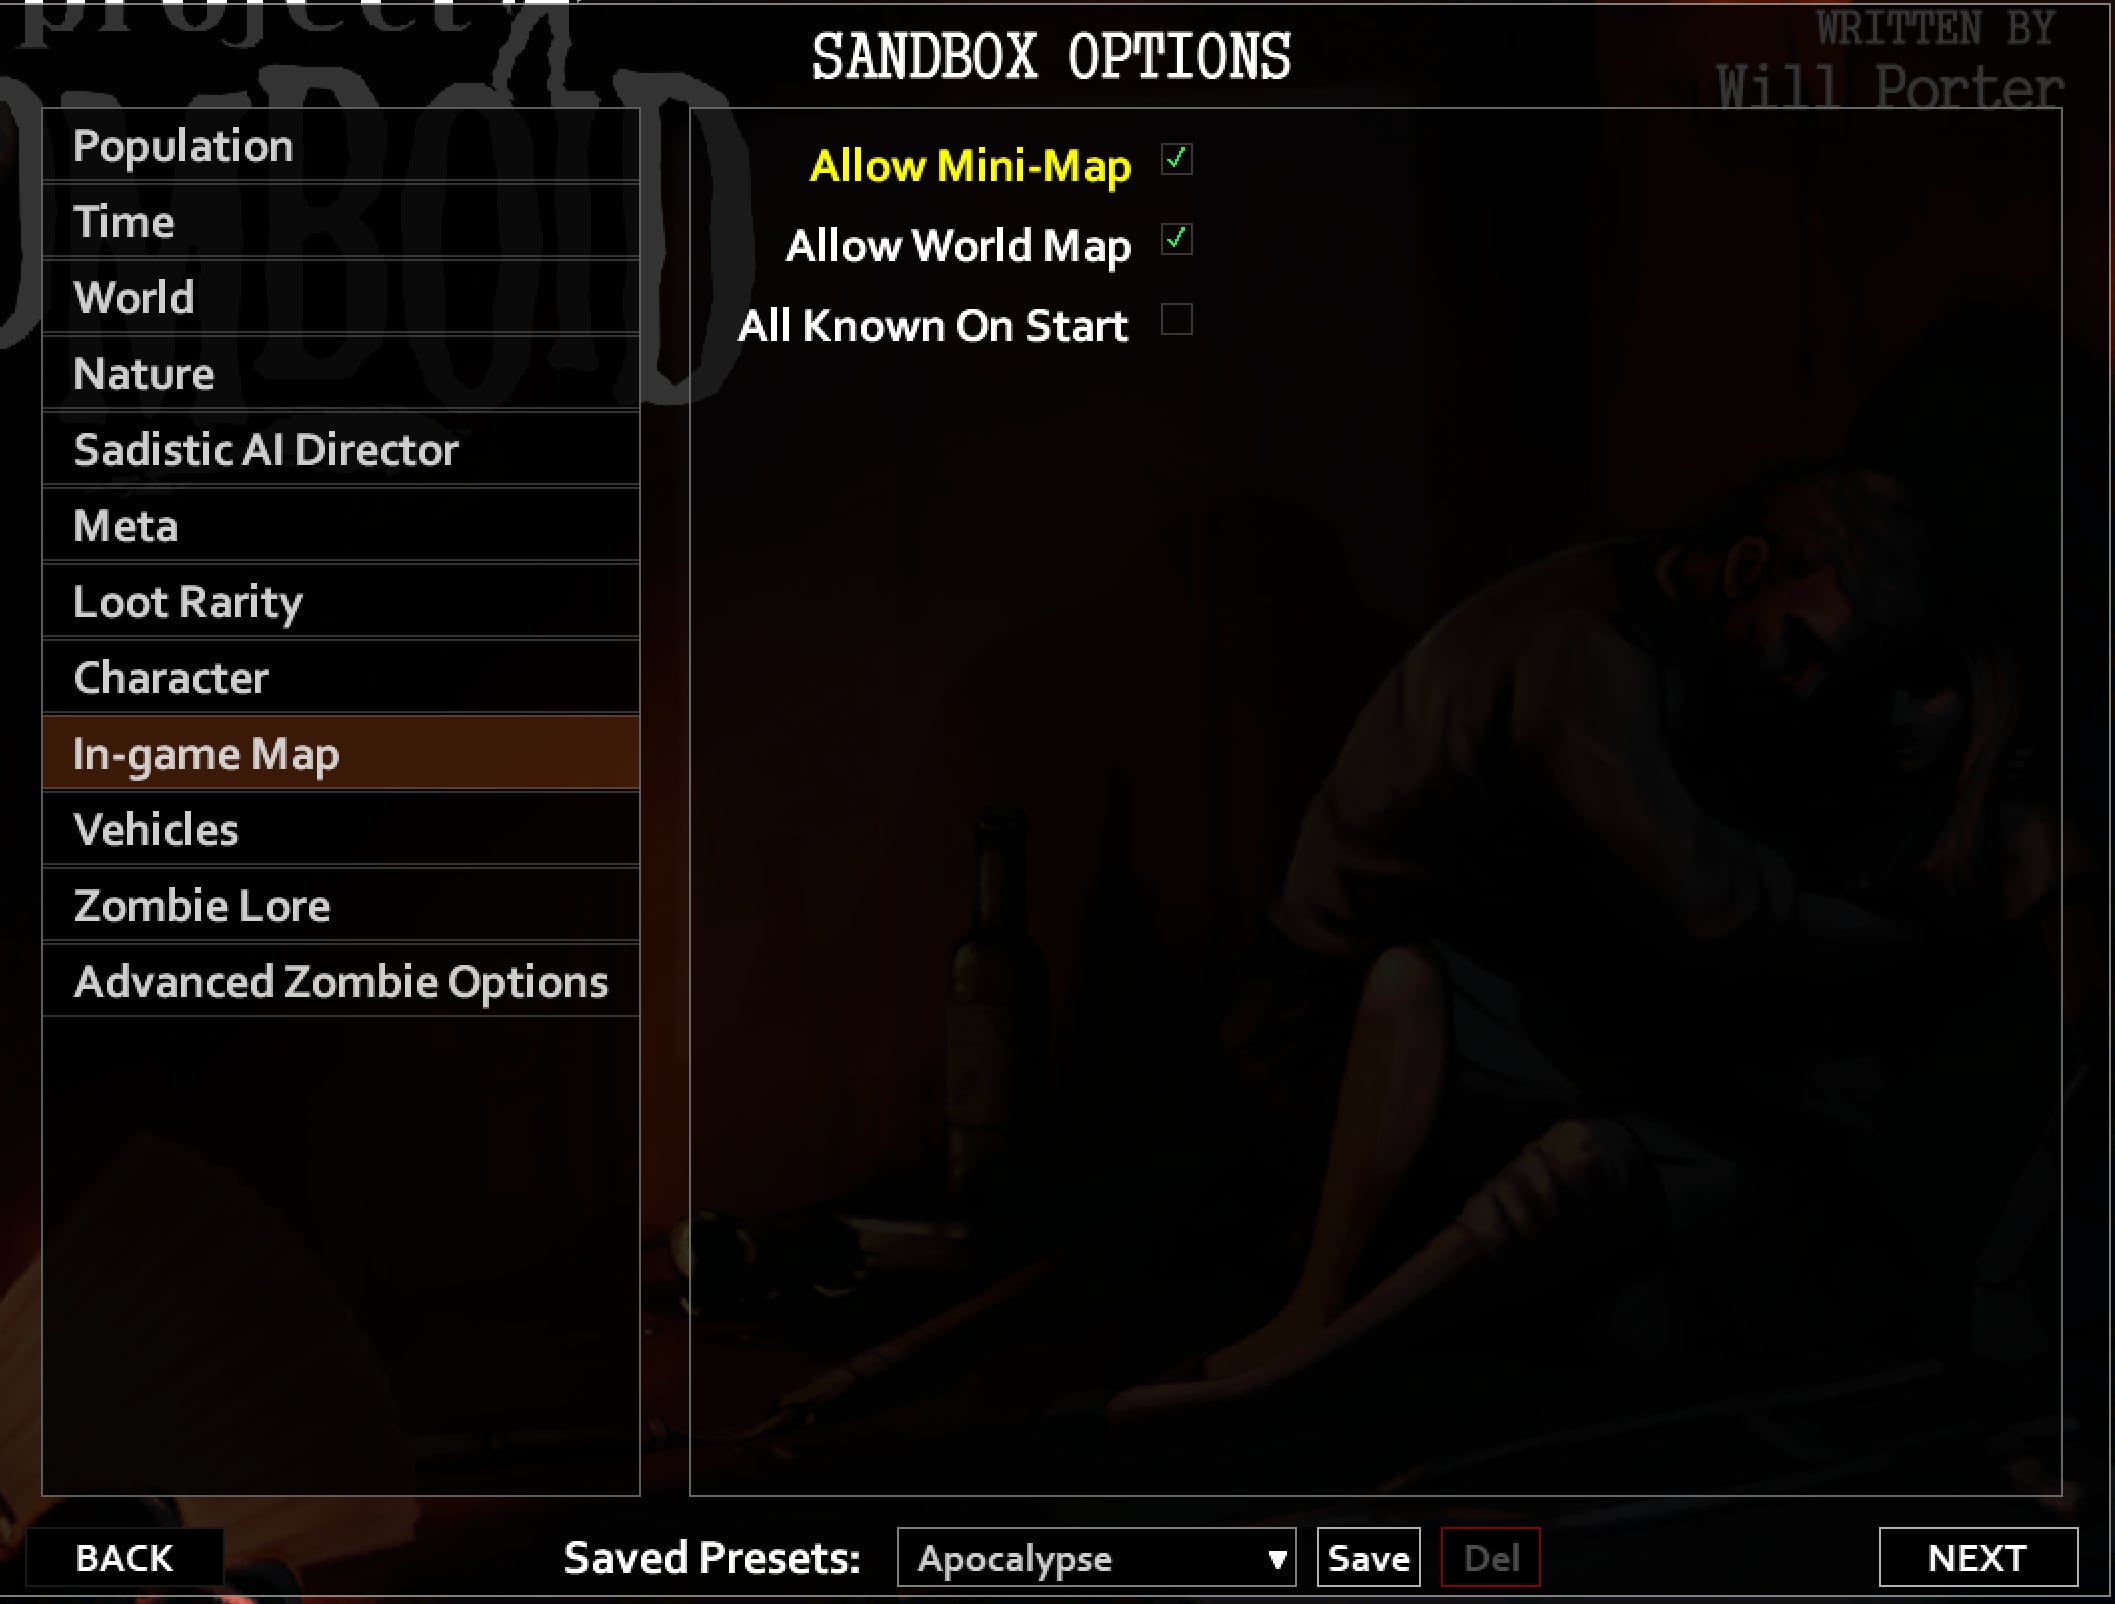
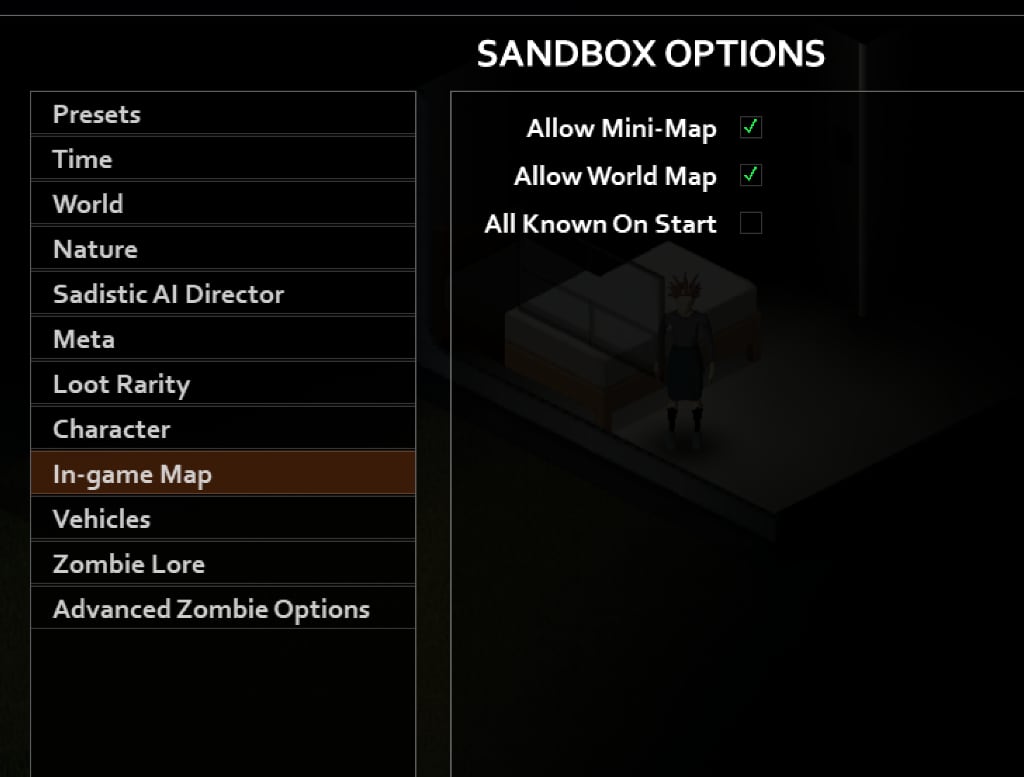
First, make sure that the mini-map is enabled in the game settings when creating a new Sandbox game. If it is not enabled, you can use the sandbox mod to modify the settings on saved games and toggle the mini-map on or off.
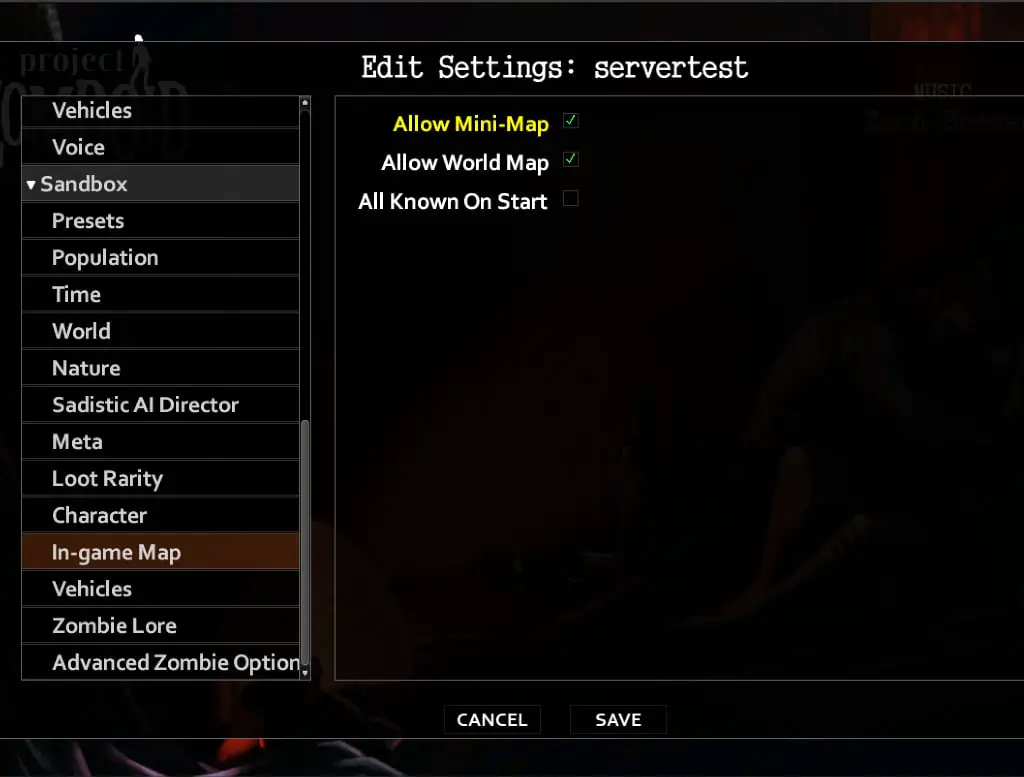
In multiplayer games, the mini-map will be enabled if the "allow mini-map" setting is enabled in the server's sandbox settings. This allows all players in the game to see the mini-map and use it to navigate and explore the game world together. For more information about multiplayer setup, see our multiplayer guide.
If the mini-map is still not appearing after enabling it in the game settings, you can try the following:
- For server games, check the server settings to make sure that the mini-map is enabled in the "In-Game Map" settings. If it is already enabled, try disabling and re-enabling it, or restart the game. If the problem persists, it could be a bug and you should report it to the developers.
- For single-player games, consider using a sandbox setting change mod to check the options for the mini-map. If the mini-map is accidentally closed, you can open it by hovering over the map icon on the left side of the screen and clicking on the mini-map icon.
Once you have the mini-map enabled and appearing in your game, you can use it to navigate and explore the game world. Here are the steps to move and zoom the mini-map:
- Move your mouse to the mini-map interface in the lower right corner of the screen.
- Wait for the black bar to appear.
- Left-click and drag the black bar to the desired area on the screen.
- To zoom in and out on the mini-map, use the mouse wheel.
You can also enable or disable markers on the mini-map by clicking on the "S" icon. This can be helpful for seeing more or less detail on the map, or for highlighting specific locations that you want to remember.
By following these steps, you can enable and use the mini-map in Project Zomboid to help you navigate and explore the game world.
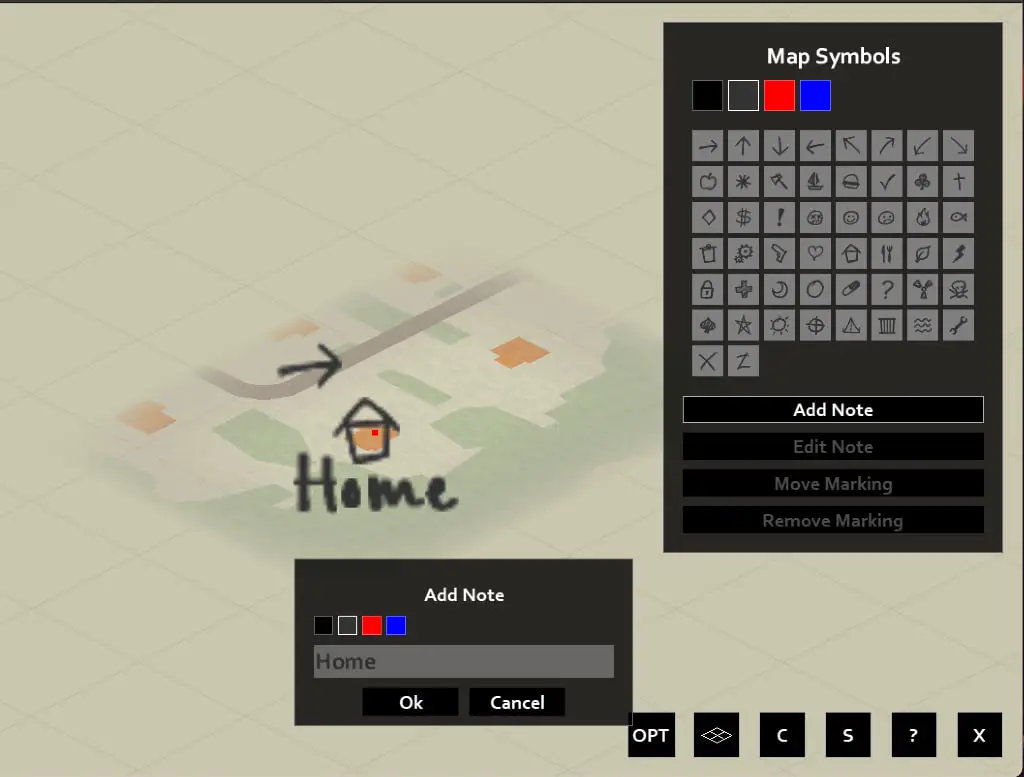
In addition to the steps above, you can also edit markers on the map and use the eris_minimap mod to access a customizable map of your current area. To edit markers on the map, follow these steps:
- Press the "m" key to open the map.
- In the top right corner of the map, there will be a set of icons. This is the edit tool.
- Click on any of the icons, making sure that you have a pencil in your inventory.
- Click on the spot on the map where you want to add a marker.
- Use the eraser to remove or edit the marker, or move it to a different location on the map.
To use the eris_minimap mod, follow these steps:
- Press the "Home" key on your keyboard to open the map window.
- From here, you can zoom in and out using the mouse wheel and pan around by clicking and dragging the map.
- The map can be customized to show more or less detail, and can also be set to show waypoints. This can be particularly helpful

for players who are new to the game or who have trouble remembering the layout of the maps.
By using these additional features, you can further enhance your ability to navigate and explore the game world in Project Zomboid. These features can be especially useful for players who are looking for a more detailed and customizable way to view the game map.